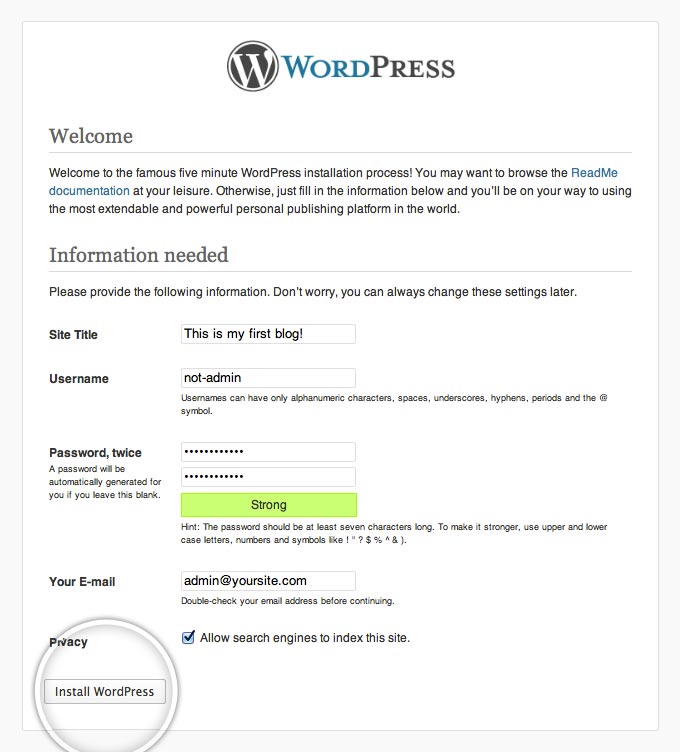
How I used Docker to set up this WordPress site quickly and easily on DigitalOcean (cloud provider), with free HTTPS certs provided by let’s encrypt.
EDIT: Most readers can use EasyEngine instead of this guide for a powerful and incredibly easy to install Docker NGINX+Wordpress setup similar to the one detailed here.
You can install it on a rented virtual private server from a provider like DigitalOcean very easily, and it will likely be cheaper, more powerful, and more distinguished to search engines than common shared WordPress hosting platforms.
For this site, I found it very easy to register the domain name foobarbat.dev with Google Domains for DNS and set it to point to the IP Address of my DigitalOcean server. If you have a domain name you’d like to own, it’s a good idea to snag it from Google or another registrar like GoDaddy. You can later set it to forward to whichever platform you decide to use for your website.
If you’re interested in learning about Docker containers or how a more manually configured stack works, please continue reading.
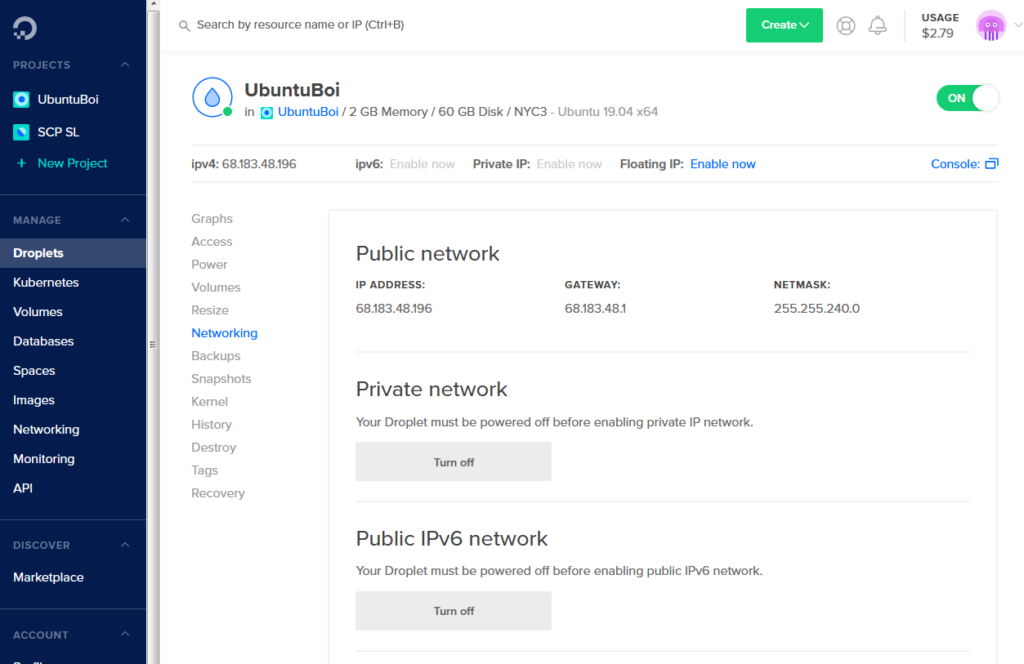
So, I have a cloud server on DigitalOcean that I pay 15$ a month for. For this, I get a global IPV4 address, 2GBs of memory, 2 CPU’s (shared), and 60GBs of storage.
I’ve played around with Amazon Web Service‘s ECS for Docker containers, which are pieces of software that are packed into little ‘containers‘ that you can run [almost] anywhere, and cloud computer hosting before, but by far I’ve found DigitalOcean to be much, much easier for what I want.
What I want just happens to be just a simple playground where I can run server stuff and Docker containers, including (but not limited to) small video game servers like Minecraft and such.
Choosing an Operating System
I was using an operating system called RancherOS earlier (Edit: CoreOS + seems to be more popular now), which is designed to be as bare-bones as possible and to run just about everything in a container.
If I was doing some kind of large deployment with many servers this would be useful, but I found that it was a bit too bare-bones for a general purpose server. I switched back to Ubuntu Linux to have something that could be a bit more fleshed-out.
If you wanted something that would be more stable with less need for updating, you could go with CentOS (equivalent to Red Hat Linux) instead.
I started by installing the Docker container engine on the Ubuntu server. I then began playing with things such as putting an obscure videogame server in a Docker container to make it easier to update and run. The process for doing this was very similar to what would be needed for containerizing just about any Windows .NET-based application.
The nice thing about a server like this is you can run just about anything pretty quickly with Docker. With Docker containers, you can run just about any software “in place” with very little need for configuration. Instead, the onus is on software developers or community members to ensure dependencies, default configurations, and data access are already setup in a ready-to-run container. In addition, upgrading is usually much easier: just stop the running container and run the newer one in its place.
With all this being so nice, I thought: why not build a website?
The Website
Initially, I just got a DNS record for matthew.krupczak.org to point to the IP address of my Digital Ocean Server. I then ran the Docker WordPress container on my server and Boom! I suddenly have a website with almost no configuration required (but no HTTPS).
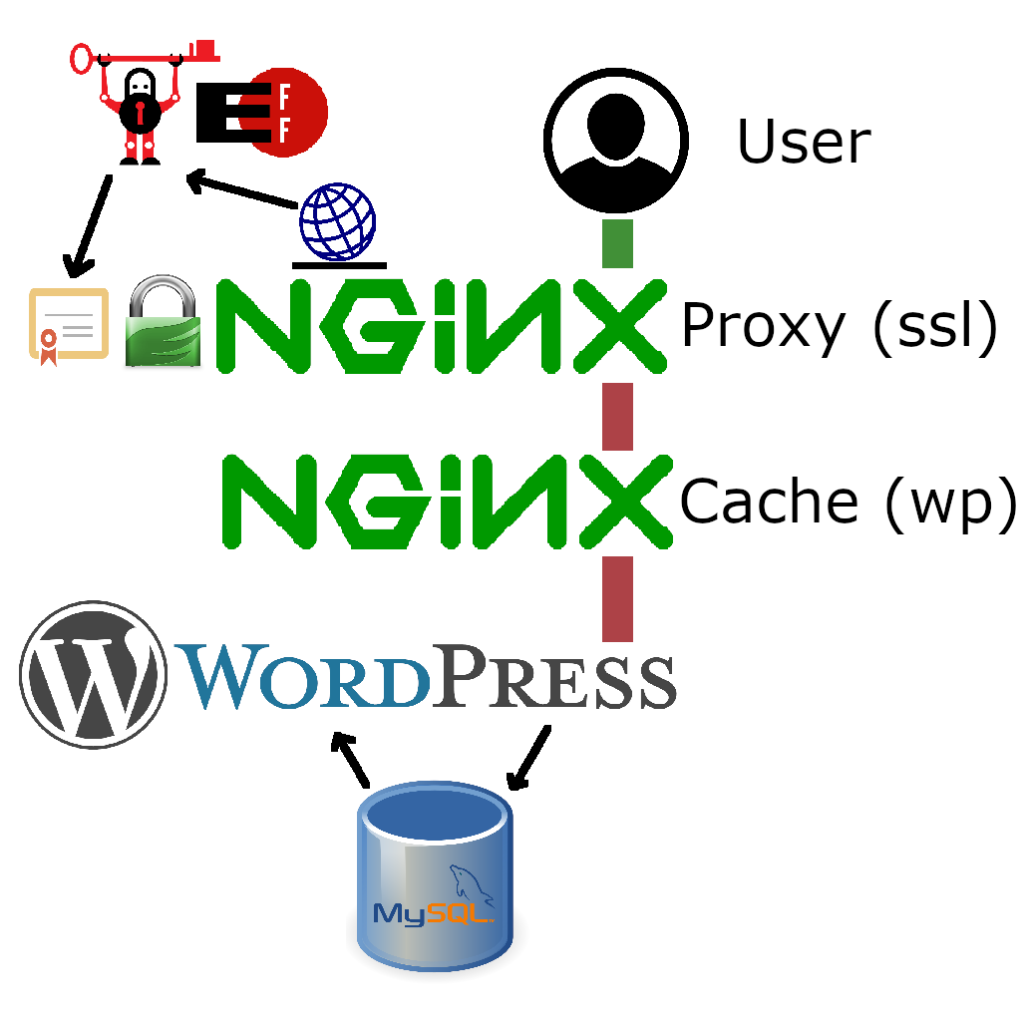
A Docker WordPress stack (with HTTPS)
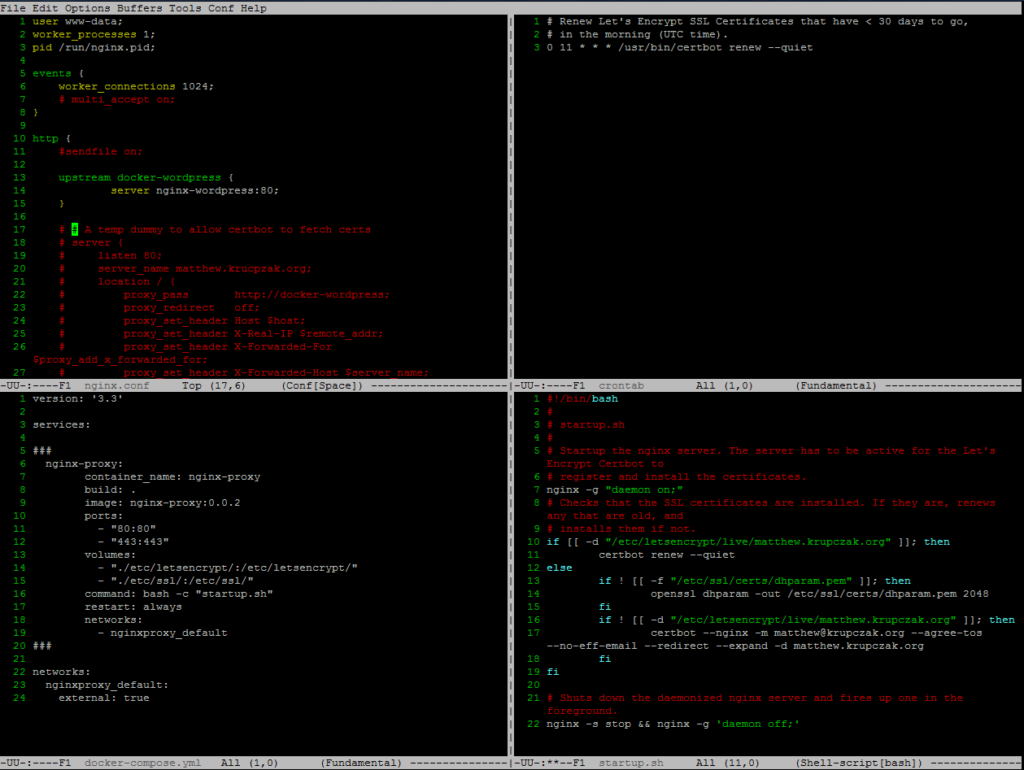
Top-left NGINX proxy config
Top-right cron job for certificate renewal
Bottom-left docker-compose file for NGINX proxy
Bottom-right startup script for NGINX
(not shown) Dockerfile recipe for building custom version of NGINX
Using this guide, I attempted to add HTTPS encryption to my site. I used the free encryption certificates provided by the EFF with let’s encrypt and Certbot for auto-renewal. The added benefit of this setup is it puts NGINX in front of the website at two different layers as a reverse proxy and an http cache. The latter allows the stack to serve traffic faster and at a much larger volume than would be possible with WordPress alone.
This type of configuration is common among internet infrastructure. Typically, an NGINX (or HAProxy) instance allows for higher-level caching, load balancing, or reverse proxying. It then typically feeds into one or more instances of a feature-rich application such as WordPress running on Apache.
In addition, SSL termination and certificate management is wholly contained in the top “reverse proxy” NGINX container. This allows for a more simple configuration for the rest of the stack.
Snags
WordPress
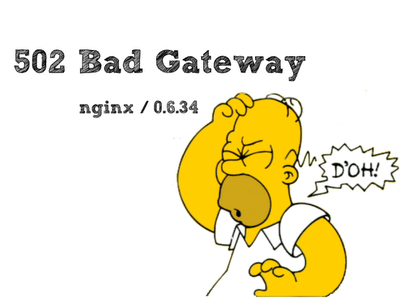
In writing my own docker compose file based on this guide, I forgot to switch from “wordpress:latest” to “wordpress:5.2.3-php7.1-fpm”. This left me with a frustrating 502 bad gateway error from NGINX, and it took me a while to debug. By digging through the containers, I figured out that top proxy (handling HTTPS) was working fine but the HTTP cache wasn’t working because it was incompatible with the vanilla WordPress image
Certbot
In “startup.sh” Certbot was configured for www.matthew.krupczak.org as well as matthew.krupczak.org. There is no DNS entry for www.mathew.krupczak.org, so I expected that Certbot would fail cleanly and install the working matthew.krupczak.org. Instead, Certbot was incredibly picky and would look like it was installing, but would instead fail everything.
In addition, the provided startup script may have failed to generate DHparams before running Certbot the first time. To fix this, I just ran command manually and modified the provided startup.sh to give it an extra spot where it would attempt to generate them.
Closing Thoughts:
Why go through all this effort? Well, for fun and…
You could use Docker to set this WordPress stack (or something like it) up on DigitalOcean or any other cloud for as little as $5 per month with free HTTPS certificates, full control of the site and the server it runs on, and a place where you can host any other kind of container you’d like to run.
In addition, hosting your own WordPress server can allow your website to have better performance and to be more distinguished to search engines.
Link to guide used for creating this site
(note: you can probably upgrade the NGINX, WordPress, and MariaDB versions from those in the guide. I opted to use MySQL instead of MariaDB for my site.)
![]()


